

Table of Contents
- Quick Comparison: 7 Pull Up Bar Routines
- How to Choose the Right Pull Up Bar for Your Home
- Routine 1: Pull Up Bar Workout for Beginners
- Routine 2: How to Increase Pull Up Reps with Progressive Overload
- Routine 3: Pull Up Bar Core Exercises for Stability
- Routine 4: Advanced Pull Up Variations for Strength
- Routine 5: Grip Strength and Endurance Training
- Routine 6: Full-Body Circuit with Pull Up Bar
- Routine 7: Recovery and Injury Prevention
- Frequently Asked Questions
Last Updated: September 28, 2026
Quick Comparison: 7 Pull Up Bar Routines
The best pull up bar routines for home training are built around one principle: match the routine to your current strength, not the strength you hope to have. A beginner who can't yet complete a full rep needs a different plan than someone chasing a one-arm pull-up. This guide from Bodyhackfitnesss breaks down seven complete routines, from assisted work to advanced hangs, so you can pick your starting point and progress with a clear purpose.

| Routine | Best For | Key Focus | Typical Duration |
|---|---|---|---|
| 1. Beginner Foundation | First pull-ups | Dead hangs, negatives, scapular retraction | 15-20 min |
| 2. Progressive Overload | Increasing reps | Tracked volume, tempo training | 20-25 min |
| 3. Core Stability | Trunk strength | Hanging knee raises, isometric holds | 12-15 min |
| 4. Advanced Variations | Experienced lifters | Wide grip, neutral grip, explosive power | 25-30 min |
| 5. Grip Endurance | Grip strength | Timed hangs, towel hangs | 10-15 min |
| 6. Full-Body Circuit | Conditioning | Rows, push-ups, squats, bar work | 20-25 min |
| 7. Recovery & Mobility | Injury prevention | Shoulder girdle work, range of motion | 10-12 min |
How to Choose the Right Pull Up Bar for Your Home
Your routine is only as good as the bar it hangs from, and the bar is only as good as the surface it attaches to. Before you pick a workout, pick the equipment that fits your actual space and your actual walls.
Door-frame safety checks before you hang anything
Most doorway-bar failures trace back to the frame, not the bar. Run these checks first:
- Measure at the jamb, not the trim. A frame that reads 100 cm at the molding can be several centimeters narrower where the bar actually grips.
- Check the trim material. Hollow or loose molding won't hold a bar under load. Press on it; if it flexes, the bar will slip.
- Confirm the door opens away from the bar. A bar mounted over a door that swings toward you is a head injury waiting to happen.
- Test with bodyweight before you train. Hang with feet just off the floor for 30 seconds and watch for any shift in the bar's position.
Equipment maintenance
A pull-up bar is a load-bearing piece of steel, and it needs the same attention as any other. Wipe the bar down after sweaty sessions to prevent rust and keep your grip consistent. Check the mounting hardware on wall-mounted units every few weeks; vibration and repeated loading can loosen bolts. On doorway bars, inspect the rubber or foam pads for compression and cracking, since worn pads are the leading cause of slip.
Matching the bar to your space
If you live in a small apartment, a doorway bar that stores in a closet beats a free-standing station you have to step around. If you have a spare wall in a garage or basement, a wall-mounted bar gives you the most training options. The right answer is the one you'll actually use three times a week, not the one with the highest weight rating.
Routine 1: Pull Up Bar Workout for Beginners
The fastest path to your first pull-up is not more pull-up attempts. It's assisted work and controlled negatives. This routine builds the pattern before it builds the rep.
Total time: 15-20 minutes, three days per week.

- Dead hang - 3 sets of 10-20 seconds. Grip the bar, let your body hang, keep shoulders active rather than fully relaxed.
- Scapular retraction - 3 sets of 8 reps. From a dead hang, pull your shoulder blades down and together without bending your elbows.
- Negative pull-ups - 3 sets of 3 reps. Jump or step to the top position, then lower yourself as slowly as you can, aiming for 5 seconds down.
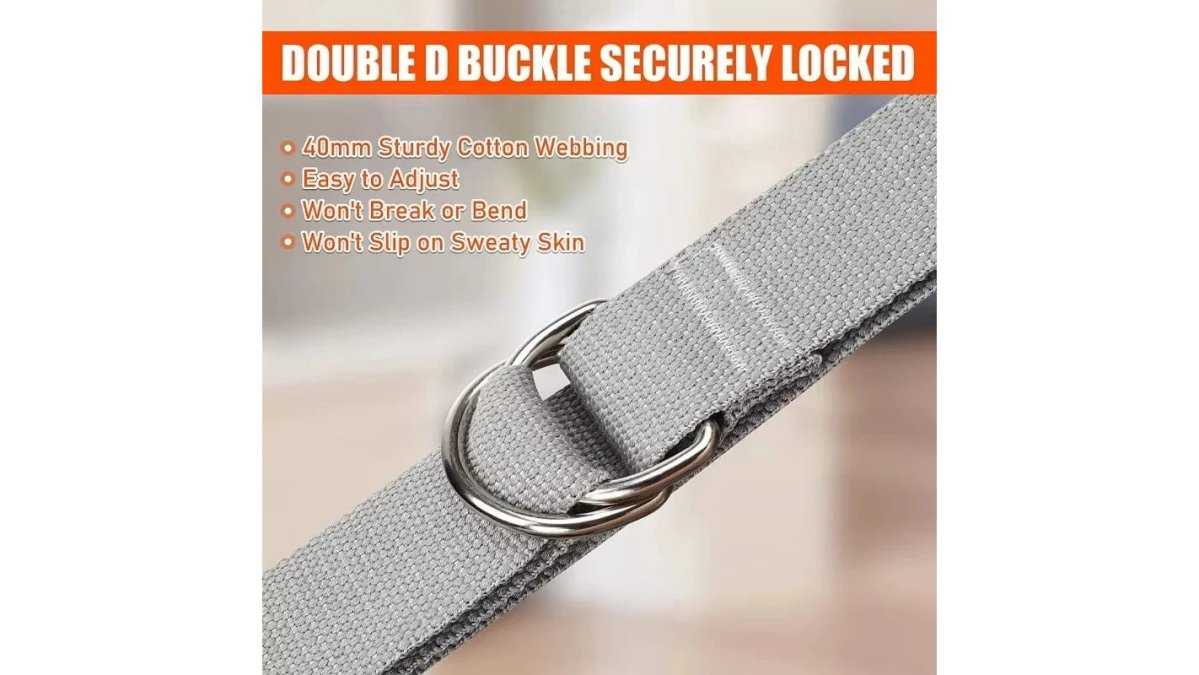
- Assisted pull-ups - 3 sets of 5 reps with the Adjustable Pull-Up Assistance Resistance Band. The band reduces how much bodyweight you lift, so you train the full movement while you build strength.
Routine 2: How to Increase Pull Up Reps with Progressive Overload
Adding reps comes down to tracking. If you don't write down what you did last session, you can't beat it this session. This is the single biggest gap in most home pull-up guides: they tell you to do more reps but never tell you how to measure whether you actually are.
The tracking method
Use a simple log with four columns: date, sets, reps per set, and total volume. Total volume is sets multiplied by reps. A session of 5 sets of 2 is 10 total reps. Next session, your target is 11. That's it. You don't need an app, though a notes file on your phone works fine.
Here's what a two-week block looks like in practice:
| Session | Sets | Reps per set | Total volume |
|---|---|---|---|
| Week 1, Day 1 | 5 | 2 | 10 |
| Week 1, Day 2 | 5 | 2 | 10 |
| Week 1, Day 3 | 5 | 3 | 15 |
| Week 2, Day 1 | 5 | 3 | 15 |
| Week 2, Day 2 | 5 | 4 | 20 |
| Week 2, Day 3 | 5 | 4 | 20 |
Three progression levers
When you stall on reps, you have three other ways to make the exercise harder without adding a single rep:
- Tempo. Lower for 3 seconds on every rep. A 3-second negative at the same rep count is meaningfully harder than a 1-second drop, and it builds the eccentric strength that drives the next rep.
- Range of motion. Add a pause at the bottom of each rep, fully extended, before pulling again. This removes the stretch reflex that helps you bounce out of the bottom.
- Load. Add a weight belt or hold a dumbbell between your feet once you're past 10 clean reps. This is the lever most home lifters never touch, and it's why their progress plateaus.
When to add a training day
If you're recovering well and your log shows three straight sessions at the same volume, add a fourth day before you add reps. More frequency at the same volume often breaks a plateau faster than grinding out one extra rep per set.
What to do when you stall
A stall is three sessions in a row with no increase in volume. When that happens, don't push harder. Deload for one week by cutting volume in half, then resume at your last successful volume and build again. Most practitioners find that a deload breaks a plateau more reliably than adding more work to an already fatigued system.
Routine 3: Pull Up Bar Core Exercises for Stability
A strong trunk is what keeps your pull-ups from turning into a swinging contest. Core work on the bar also carries over to posture correction, because it trains the muscles that hold your ribcage and pelvis in line.
Doorway Pull-Up Bar Home Fitness →
The routine:
- Hanging knee raises - 3 sets of 10. Lift knees to hip height without swinging.
- Hanging leg raises - 3 sets of 6-8 once knee raises feel controlled.
- Isometric hold at the top - 3 sets of 15 seconds with knees tucked.
- Hollow body hang - 3 sets of 20 seconds, ribs down, legs straight.
Routine 4: Advanced Pull Up Variations for Strength
Once you own 10 clean reps, variety becomes the tool that keeps progress moving. Different grips shift which muscles carry the load, which is how you build strength across the whole shoulder girdle rather than one narrow pattern.
| Variation | Grip | Primary Emphasis |
|---|---|---|
| Wide grip pull-up | Pronated, hands outside shoulders | Latissimus dorsi width |
| Chin-up | Supinated, hands inside shoulders | Biceps brachii |
| Neutral grip pull-up | Palms facing each other | Shoulder-friendly mid-back work |
| Archer pull-up | One arm straight, one bent | Unilateral strength |
| Explosive pull-up | Any grip, fast concentric | Explosive power |
Routine 5: Grip Strength and Endurance Training
Grip is the quiet limiter in almost every home training plan. Your back can be ready to pull while your hands quit first.
Session structure:
- Dead hang for time - 3 attempts, rest 90 seconds between. Record your best.
- Towel hang - 3 sets of 15-25 seconds with a towel over the bar.
- Active hang - 3 sets of 20 seconds with shoulders engaged.
- Farmer-style hold - hold the top of a pull-up position for 3 sets of 10 seconds.
Routine 6: Full-Body Circuit with Pull Up Bar
When time is short, a circuit keeps the whole body working. This one uses the bar as the anchor and fills the gaps with bodyweight movements.
Circuit, 3 rounds, 45 seconds work per station:
- Pull-ups or assisted pull-ups
- Inverted rows under the bar, or push-ups if the bar sits too low
- Hanging knee raises
- Bodyweight squats
- Plank hold
Routine 7: Recovery and Injury Prevention
The routines above only pay off if your shoulders and elbows stay healthy. This is the routine most home lifters skip, and it's the one that keeps them training.
Twice a week, 10-12 minutes:
- Band pull-aparts, 3 sets of 15, to balance all the pulling
- Shoulder dislocates with a light band, 2 sets of 10
- Doorway chest stretch, 2 sets of 30 seconds per side
- Wrist and forearm stretches, 2 sets of 30 seconds
- Easy dead hang, 2 sets of 20 seconds to decompress the spine
Frequently Asked Questions
What is a good home pull-up bar workout routine?
A balanced home pull-up bar routine combines vertical pulling, core work, and grip training. Start with 3 sets of assisted pull-ups, 3 sets of hanging knee raises, and 2 sets of dead hangs. Rest 60-90 seconds between sets. Aim for 3 sessions per week, allowing 48 hours of recovery. Adjust difficulty using an adjustable pull-up assistance band to match your current strength level.
How many pull-ups should a beginner aim for?
Most beginners start with assisted pull-ups or negative pull-ups. Aim for 3-5 assisted reps per set, or 5 negative pull-ups (lowering yourself slowly over 3-5 seconds). Build to 1 unassisted pull-up within 4-8 weeks of consistent training. Progress by reducing assistance or adding reps rather than rushing to unassisted pull-ups.
How often should you train with a pull-up bar for best results?
Train 3-4 times per week with at least one rest day between sessions. This allows your back, shoulders, and arms to recover. If you are doing high-volume grip work, limit to 2-3 sessions weekly. Listen to your body: soreness that lasts more than 48 hours means you need more recovery time.
What are the best pull-up bar variations for targeting the core?
Hanging knee raises, toes-to-bar, and L-sit holds are the top core-focused pull-up bar exercises. Hanging knee raises target the lower abs, while toes-to-bar engage the entire rectus abdominis. L-sit holds build isometric core stability. Add 2-3 sets of each to your routine 2-3 times per week for visible core strength gains.
Can you build significant muscle using only a pull-up bar?
Yes, a pull-up bar can build significant upper body muscle when you apply progressive overload. Increase reps, add weight with a dip belt, or slow down the tempo. Target the latissimus dorsi, biceps brachii, and shoulder girdle. Combine with push-ups and core work for balanced development. Most people see noticeable gains in 6-8 weeks of consistent training.
Building a home pull-up practice is less about motivation and more about having the right setup and a plan you can actually track. Bodyhackfitnesss carries the doorway bars, assistance bands, and free-standing stations that make these seven routines possible in a spare room, a garage, or a hallway. Shop now and build the training environment that keeps you progressing past your first rep.