


Quick Summary
To choose resistance bands for your fitness level, pick a band that lets you finish 10 to 15 clean reps with the last two or three feeling hard but controlled. Beginners should start light to medium and move up only when the final reps stop feeling challenging.
- Too light lets you do 25 or more reps easily, while too heavy stops clean reps through full range of motion.
- Band labels like light or medium aren't standardized, so compare the pound rating printed on the package instead.
- Pound ratings reflect force at a stated stretch length, so anchor distance changes how heavy a band feels.
- Use the self-check: beginners struggle to finish 10 clean reps, while advanced trainees finish more than 20.
- Reassess every four to six weeks and move up a band when the bands start to feel easy.
Table of Contents
- Why Matching Band Resistance to Your Fitness Level Matters
- Resistance Band Levels Explained: Light, Medium, Heavy and Beyond
- How to Determine Your Fitness Level
- Band Types and Who Each One Suits
- Resistance Band Strength Chart: Matching Tension to Exercises
- Best Resistance Bands for Beginners and How to Start
- Resistance Bands for Different Exercises and Your Next Training Step
- Frequently Asked Questions
Why Matching Band Resistance to Your Fitness Level Matters
Resistance bands are one of the most affordable ways to train at home. The catch is that the wrong tension can stall progress or cause sloppy form. Too light, and the muscle never gets challenged enough to grow stronger. Too heavy, and you lose control of the movement, which raises the risk of strain.
The right band gives you enough resistance to finish your target reps with good form, while leaving a little in reserve. Here's what that looks like in practice:
- Too light: You can do 25 or more reps without effort.
- Too heavy: You can't complete a single clean rep through full range of motion.
- Just right: You finish 10 to 15 reps, and the last two or three feel hard but controlled.
Getting this match right is what makes home training work over the long run.
Resistance Band Levels Explained: Light, Medium, Heavy and Beyond
Most brands label bands by color or by a word like light, medium, or heavy, and those words are not standardized. A red band from one maker can be firmer than a red band from another, and a "medium" loop from a set sold at a big-box retailer may be lighter than a "light" tube from a specialty brand. The label is a starting point; the number printed on the package is the only figure worth comparing.
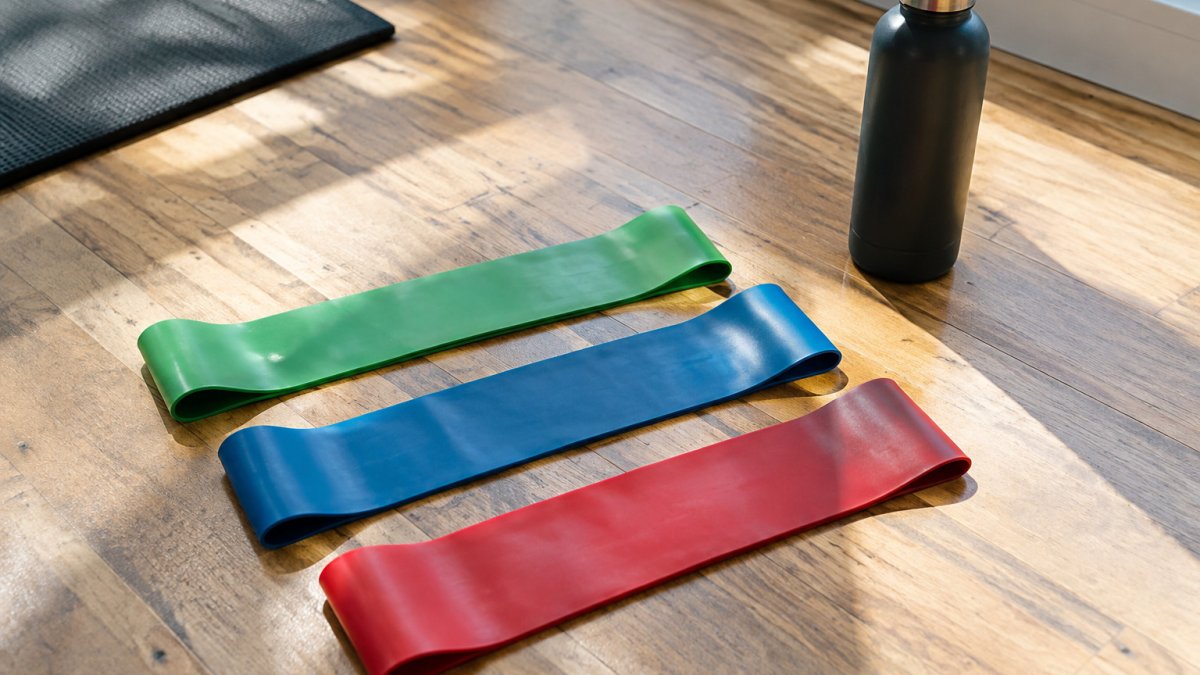
When a band lists a resistance range in pounds, read it as the force at a stated stretch length, not as a constant load. Manufacturers commonly measure at 100% elongation (the band stretched to twice its resting length) or at 200% elongation (three times its resting length). A band rated 10-30 lb might deliver 10 lb at the shorter stretch and 30 lb at the longer one. That is why the same band feels easy for a row anchored at your waist and hard for a press anchored at your feet, the stretch distance changed, not the band.
- Light (roughly 5-15 lb at working stretch): Warm-ups, rotator-cuff work, mobility drills, and the first two weeks of a beginner program. Also the right range for anyone returning from a shoulder or knee injury, where the goal is controlled motion rather than load.
- Medium (roughly 15-30 lb): The most versatile range for adults starting strength training. Covers rows, presses, glute bridges, and lateral walks for most beginners and lighter intermediate work.
- Heavy (roughly 30-50 lb): Lower-body moves like squats, hip thrusts, and banded deadlifts for intermediate trainees, plus pull-up assistance for stronger users.
- Extra heavy and specialty (roughly 50-80 lb and up): Advanced lower-body work, accommodating resistance on barbell lifts, and pull-up assistance for heavier trainees. Some specialty loops are rated past 100 lb and are intended for anchored, two-handed use only.
Because the numbers are measured differently across brands, do not assume a 20 lb band from one maker matches a 20 lb band from another. A practical comparison method is to anchor both bands at the same point, stretch each to the same length, and pull with a luggage scale or a known weight until the band reaches that length.
Watch out: A band sold only as "medium" with no pound rating gives you no way to compare it to the band you already own. When a product page lists only a color, look for a stated range in pounds or a stated elongation percentage before you buy, or plan to test the band against a known weight when it arrives.
How to Determine Your Fitness Level
Before you buy, try a simple self-check. Pick two or three exercises you can do with your body weight, such as a wall push-up, a bodyweight squat and a glute bridge. Then notice how many reps you finish with clean form.
- Beginner: You struggle to finish 10 clean reps of basic moves, or you are just getting back into exercise.
- Intermediate: You finish 10 to 20 clean reps of basic moves and want more challenge.
- Advanced: You finish more than 20 clean reps and train regularly.
Be honest about the result. Starting a notch lighter than you think you need is almost always the safer choice.
Band Types and Who Each One Suits
Not every band is built the same way. The three most common types each have clear strengths.
- Loop bands: Continuous rings, often wide and flat. They work well for glute activation, squats and lateral walks. Many people like them for lower-body training.
- Tube bands: Long elastic tubes with handles and sometimes a door anchor. They suit upper-body pulls, presses and rows, and they are good for beginners who want a full-body kit.
- Therapy bands: Thin, flat bands that are very light and gentle. They are best for rehab, warm-ups and mobility work rather than building serious strength.
Pros and cons at a glance:
- Loop bands: Great for legs and glutes, but limited for upper-body moves.
- Tube bands: Versatile and beginner-friendly, but handles and anchors can slip if not set up properly.
- Therapy bands: Gentle and low-risk, but often too light to build significant strength.
Resistance Band Strength Chart: Matching Tension to Exercises
A color-coded chart only helps if you know what the colors mean in pounds. The table below pairs common movements with a starting tension range in pounds of resistance at the band's working stretch, plus the adjustment to make when the starting range feels wrong. Treat the ranges as starting points, not prescriptions, your limb length, anchor height, and stretch distance all change the actual force you feel.
| Exercise | Body area | Starting resistance (lb at working stretch) | If it feels too easy | If form breaks down |
|---|---|---|---|---|
| Glute bridge | Lower body | 15-30 lb loop | Move to a thicker loop or double the band | Reduce to a lighter loop and slow the tempo |
| Lateral band walk | Lower body | 10-25 lb loop above knees | Place band below knees or add a second loop | Raise band to mid-thigh and shorten steps |
| Bodyweight squat | Lower body | 20-40 lb loop | Step wider on the band or add a second loop | Use a lighter loop and reduce depth |
| Band row | Upper body pull | 10-25 lb tube | Shorten the band or step back from the anchor | Lengthen the band or step forward |
| Chest press | Upper body push | 10-20 lb tube | Step farther from the anchor | Step closer to the anchor |
| Overhead press | Upper body push | 8-15 lb tube | Narrow your grip or step on the band | Widen grip and reduce range |
| Face pull | Upper body pull | 5-15 lb tube | Step back from the anchor | Step forward and lower the anchor |
| Pull-up assist | Upper body | 40-80 lb loop under the knee | Use a thicker band for more help | Use a thinner band for less help |
Two rules make the chart usable. First, the pull-up assist row runs in reverse: a heavier band gives more help, so a beginner uses the thickest band in the set and an advanced trainee uses the thinnest. Second, upper-body pulls and presses generally need less absolute resistance than lower-body moves because the smaller muscles of the shoulders and arms cannot tolerate the same load as the hips and thighs. A common pattern is that a trainee who squats with a 30 lb loop rows with a 15 lb tube, that gap is normal, not a sign of weakness.
Watch out: A band rated at 30 lb does not deliver 30 lb the moment you grab it. The stated rating usually reflects the force at a specific stretch length (often 100% or 200% elongation), so a band anchored close to your body feels much lighter than the same band anchored far away. Adjust by changing your distance from the anchor before you change bands.
For a repeatable fit test, pick the movement, set the band at the anchor point you will actually use, and perform 10 to 15 reps. You are in the right range if the last two or three reps are hard but you can still control the lowering phase for a full two seconds. If you can finish 20 clean reps, move up one band or shorten the band by stepping farther from the anchor. If you cannot complete 8 clean reps, move down one band or step closer.
Best Resistance Bands for Beginners and How to Start
If you are new to training, a multi-band starter set is the easiest way to begin. It lets you progress through light and medium tension without buying separately.
The 5-Piece Latex Resistance Training Band Set at $72.38 includes adjustable tension and a handle with a door anchor. For a single band with adjustable tension, the Adjustable Resistance Band (6.6-33LB) at $173.00 offers adjustable resistance from 6.6 to 33 lbs.
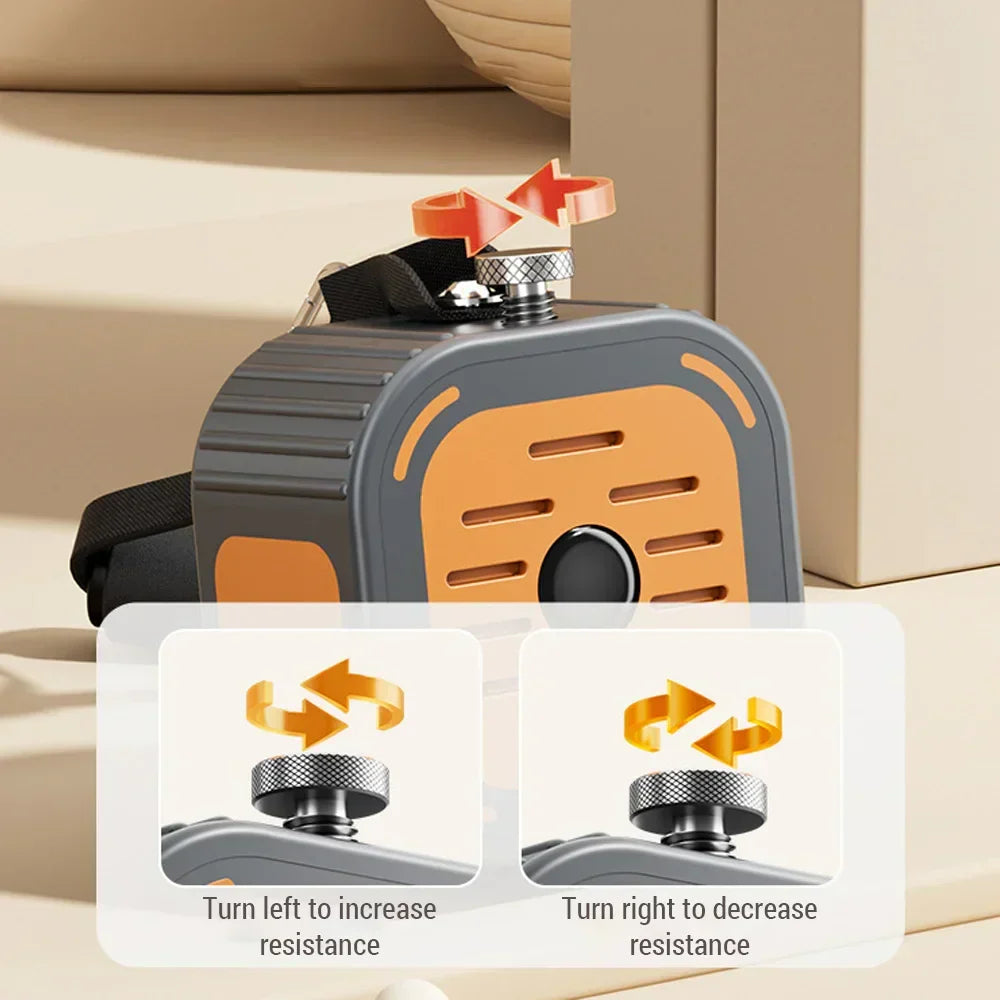
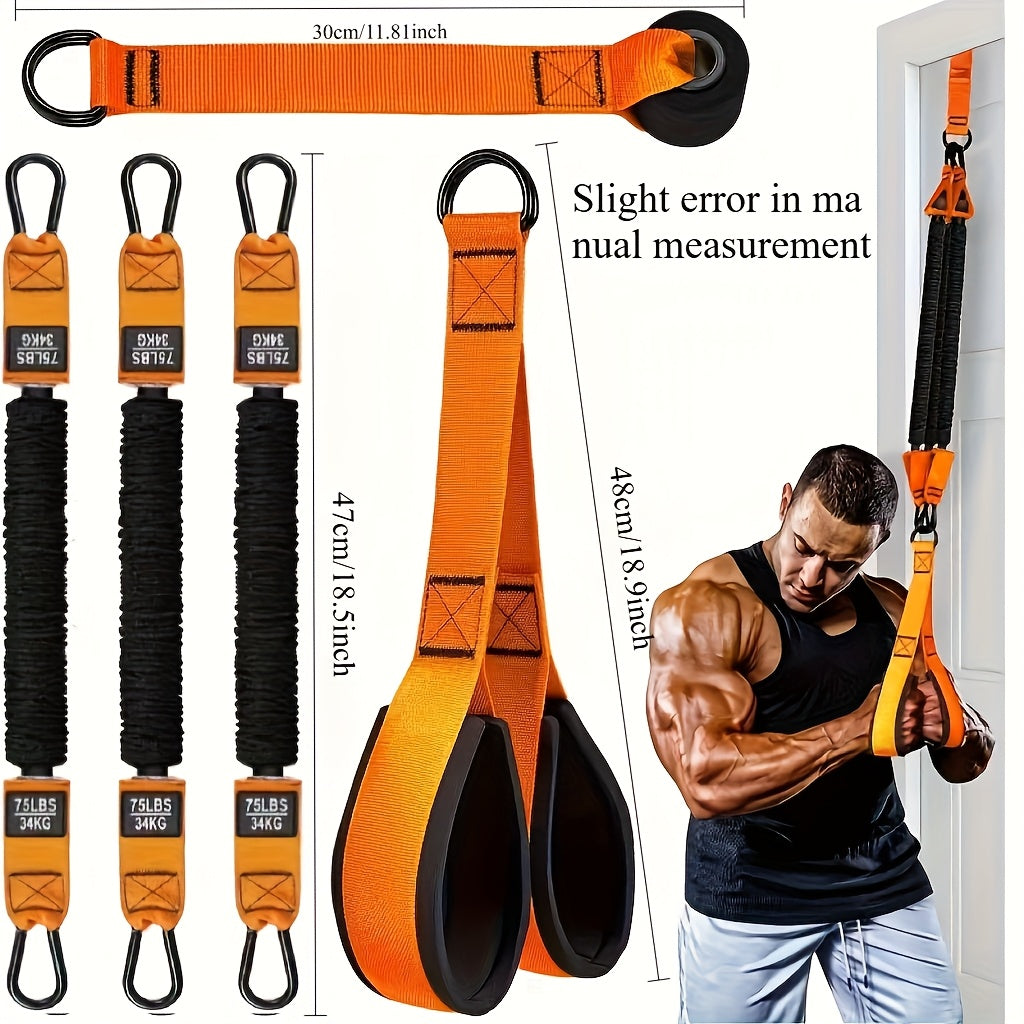
Start with two or three sessions a week, using light to medium tension and 10 to 15 controlled reps per exercise. Move up only when the final reps stop feeling hard. This is also the time to read our 5 Best Resistance Bands for Home Training in 2026 for more detailed picks.
Resistance Bands for Different Exercises and Your Next Training Step
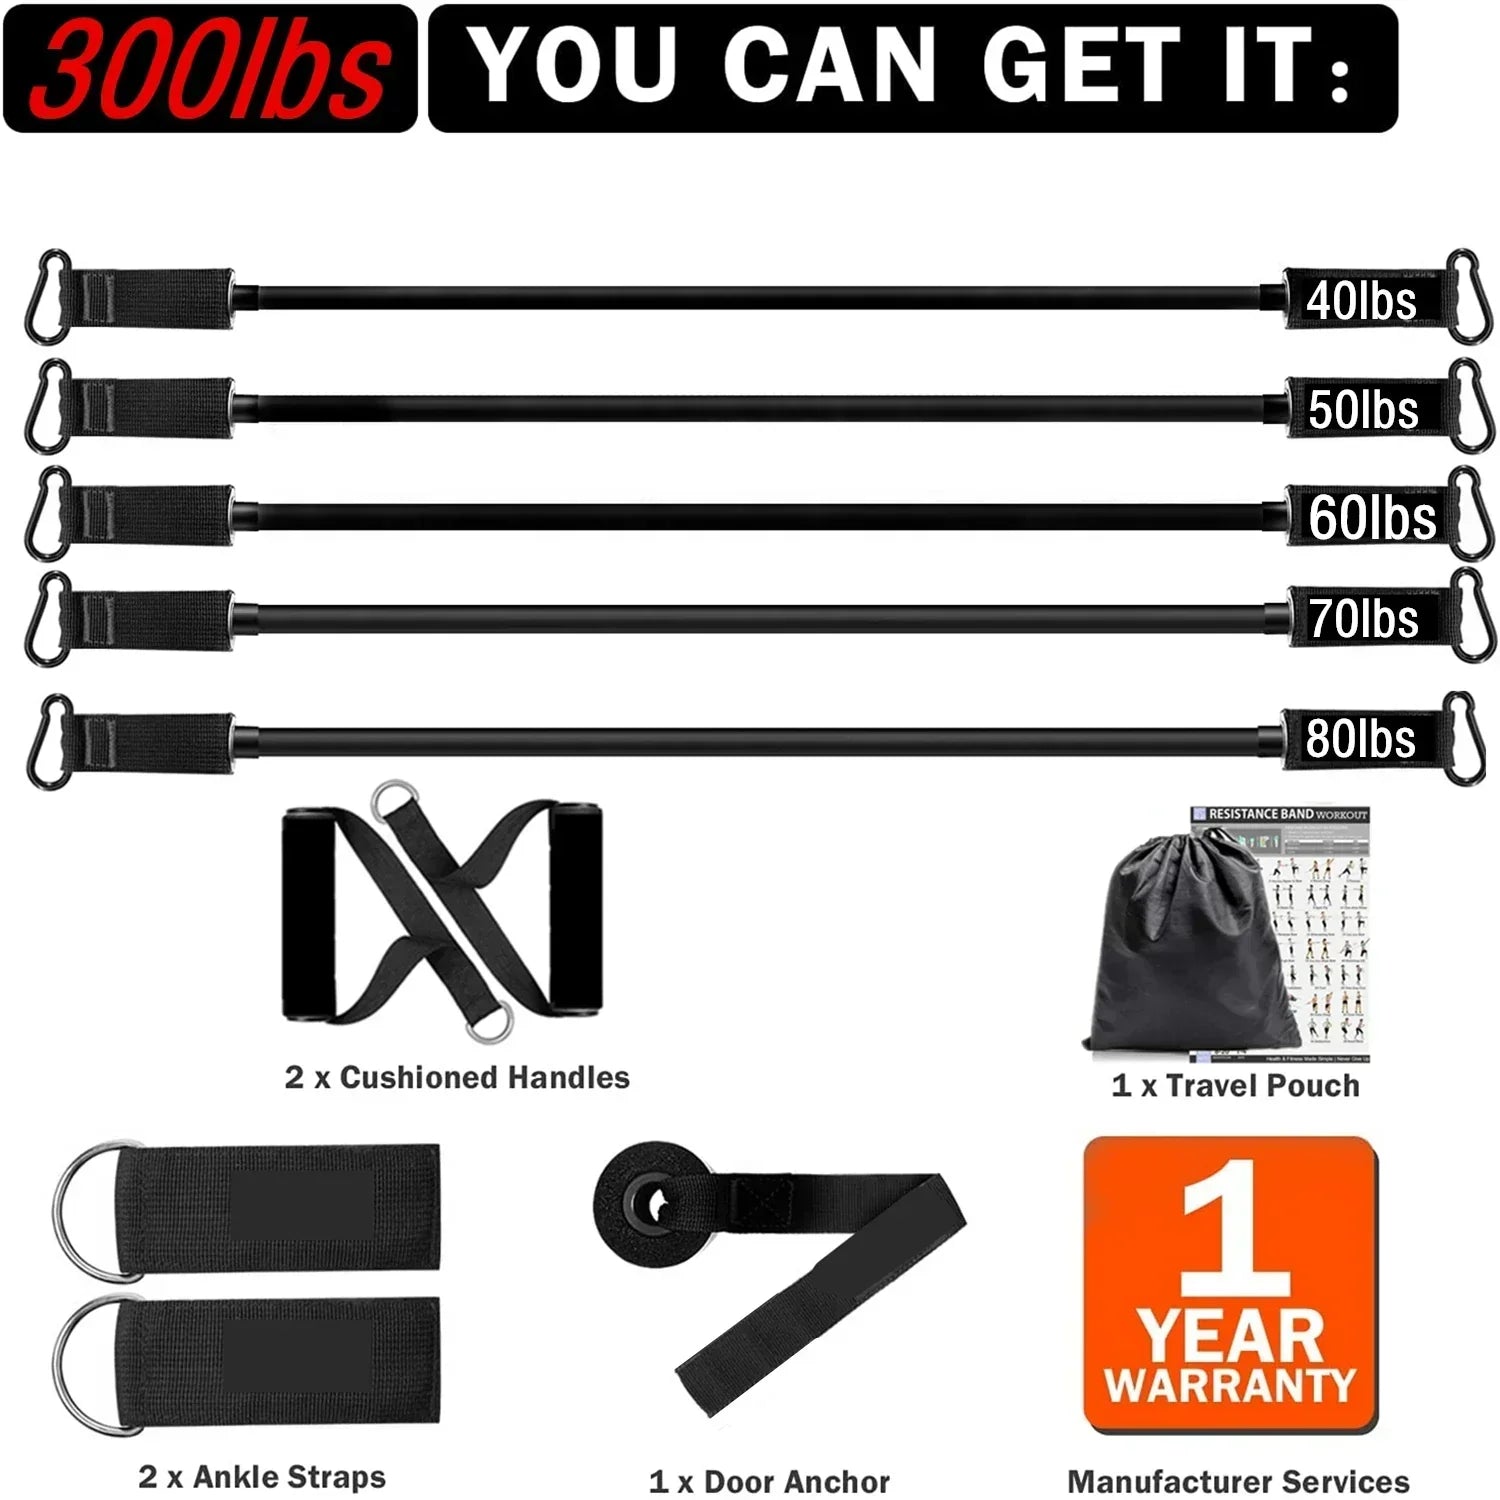
Once you know your level, match the band to the job. Lower-body moves usually need heavier loops, while upper-body pulls and presses often work well with medium tubes. For glute and leg work, the 300lb Fitness Booty Resistance Elastic Band Set at $136.96 is one option to consider.
Your next step is to stay consistent for four to six weeks, then reassess. If the bands feel easy, move up one level. If your form breaks down, step back. Many home trainees also weigh free weights against bands, and our Kettlebell vs Dumbbell for Home Strength guide can help you decide what to add next.
Frequently Asked Questions
How can I choose the right resistance band for my workouts?
Start by testing how a band feels on the exercise you plan to do most. If you can complete 10 to 15 controlled reps with good form but the last two or three are challenging, the band fits your level. If you can easily exceed 20 reps, move up in resistance. If you cannot complete 8 reps with proper form, drop down. Consider your goals too: lighter bands suit mobility and warm-ups, while heavier bands build strength in lower-body and pulling movements. Many people buy a set so they can progress across exercises.
Should beginners use light or medium resistance bands?
Most beginners should start with light resistance and progress to medium once they can complete 12 to 15 clean repetitions with control. Light bands are forgiving on form and reduce strain on joints while you learn movement patterns. Medium bands become a better fit as your muscles adapt over several weeks of consistent training. Choosing a band that is too heavy early often leads to poor form, so err on the lighter side.
How do I know if my resistance band is too strong or too light?
A band is too strong if you cannot maintain proper form or complete at least eight repetitions with control. It is too light if you can finish more than 20 repetitions without any muscle fatigue. The right band creates a challenge that builds through the final reps of a set while keeping your posture and range of motion steady. Test the band on a few basic exercises like rows or squats before deciding.
Are resistance band colors standardized across brands?
No. Colors and resistance ratings vary by manufacturer, so a green band from one brand may feel very different from a green band from another. Always check the listed resistance in pounds or kilograms rather than relying on color alone. Compare the stated load range against your fitness level, and when possible, test a band in person or read reviews that describe how it actually feels.
